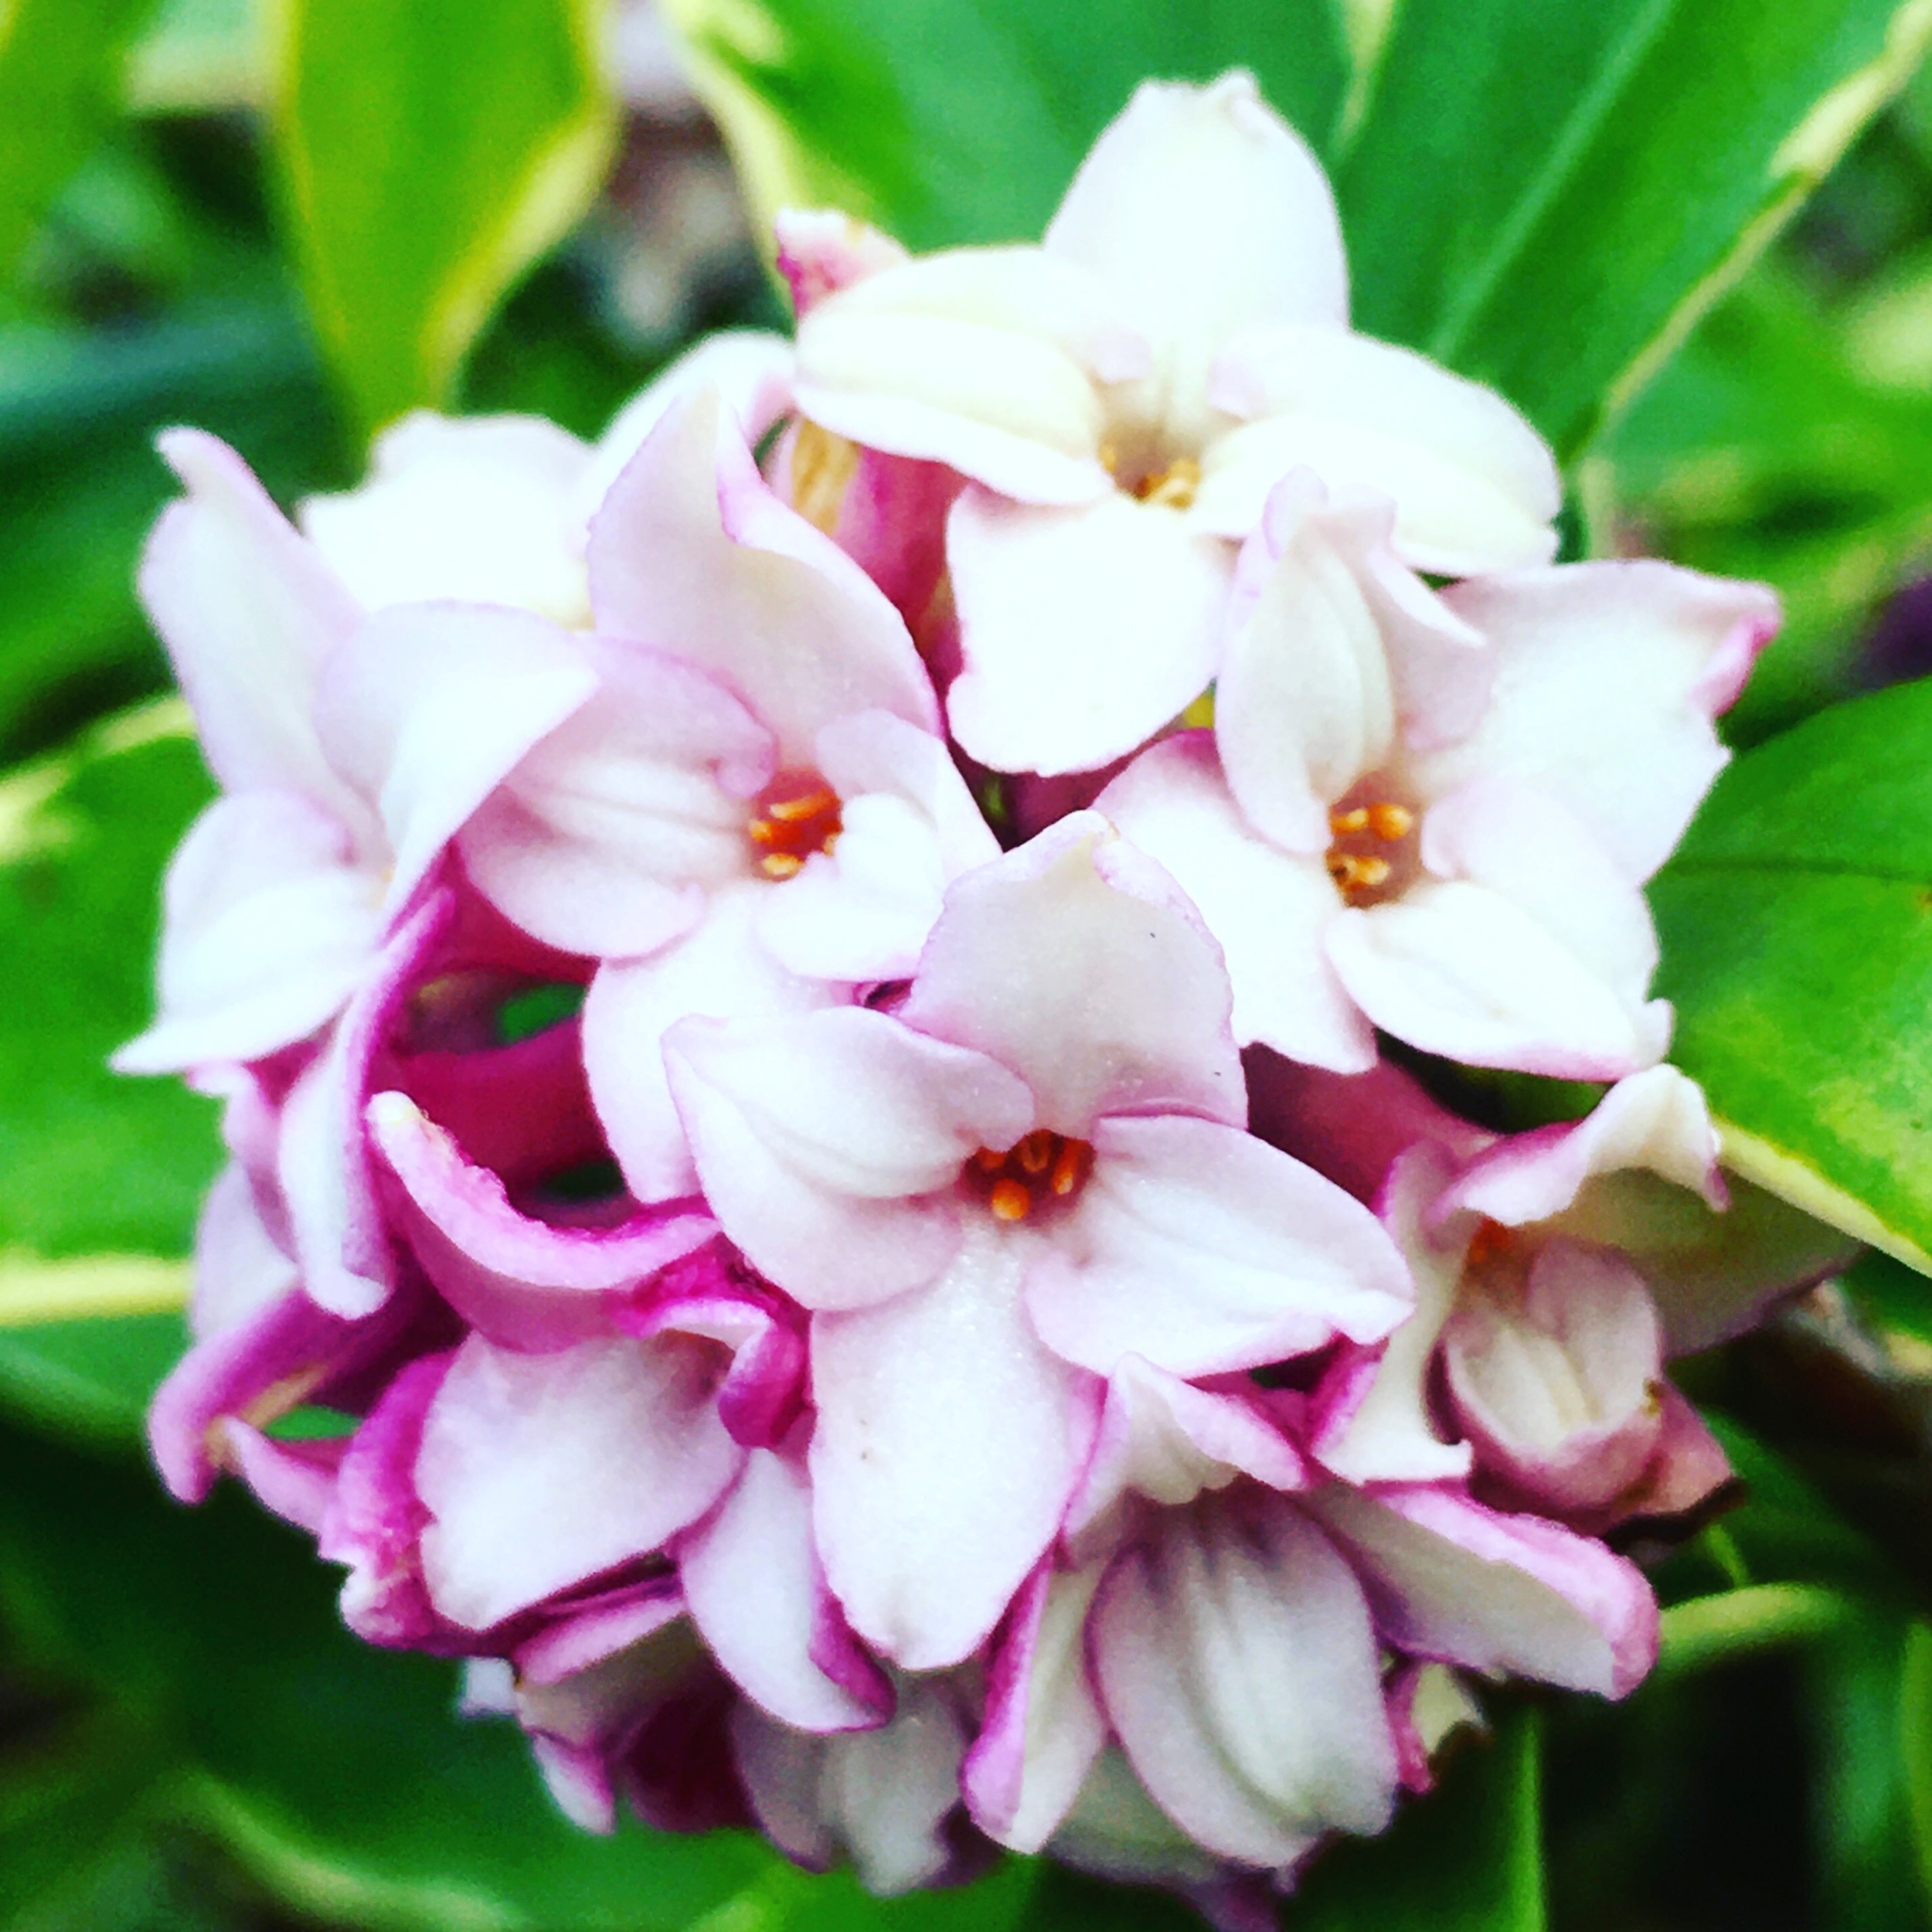

With snow still hanging around in the shadows here in Portland, and the coldest temperatures of the year so far, it is hard to imagine that the season for growing is nearly upon us, but a quick look at the calendar (or the abundance of half frozen flower buds!) would suggest that Spring is indeed right around the corner.
Salad Days
Spring in the Pacific Northwest gives us the opportunity to experiment with growing a wide diversity of quick growing, cool season loving vegetables, but wait too long to plant and the opportunity for the quintessential salad will pass you by as things heat up in early Summer.
Many of these vegetables are among the easiest to grow as long as they are planted early in the Spring and not maturing during hot weather. With proper planning and a little follow through you will be well on your way to an abundance of fresh veggies in as few as 4-6 weeks!
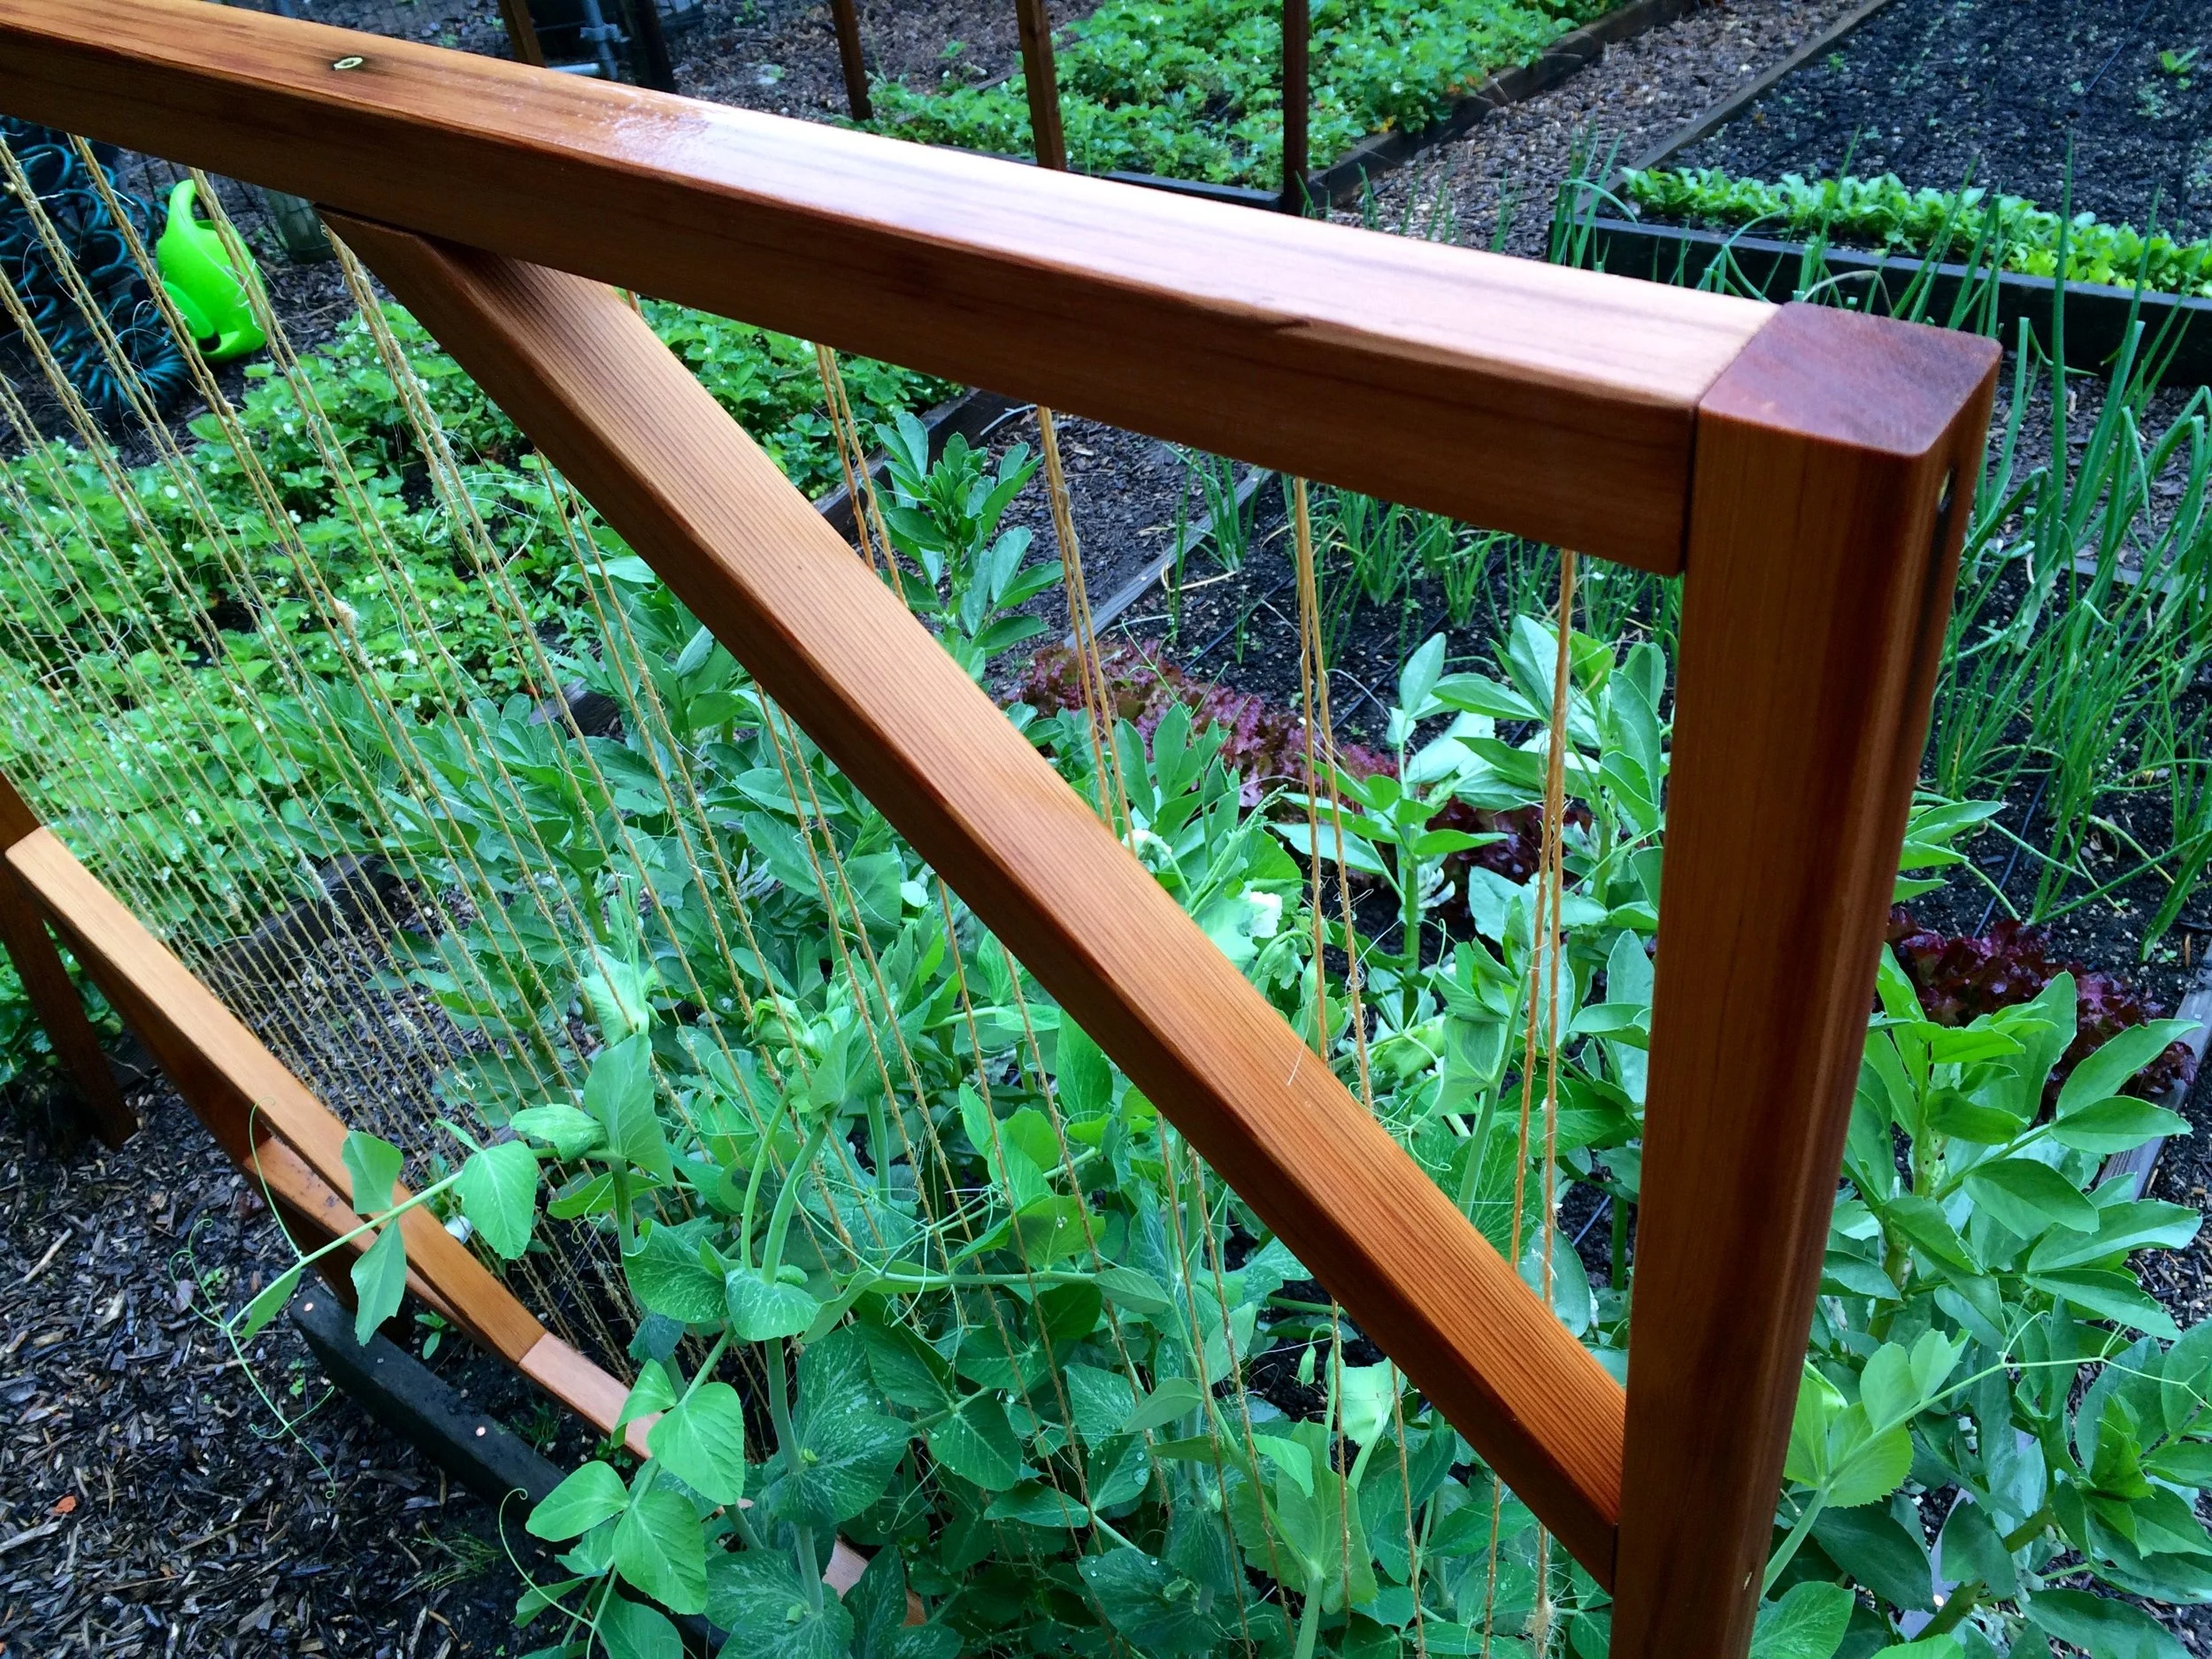
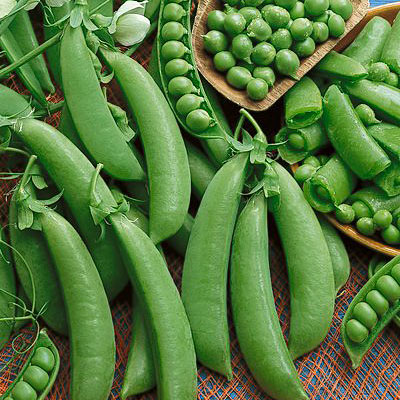
Some Spring favorites: 'Super Sugar Snap' Peas

...'Cherriette' and 'French Breakfast' Radishes
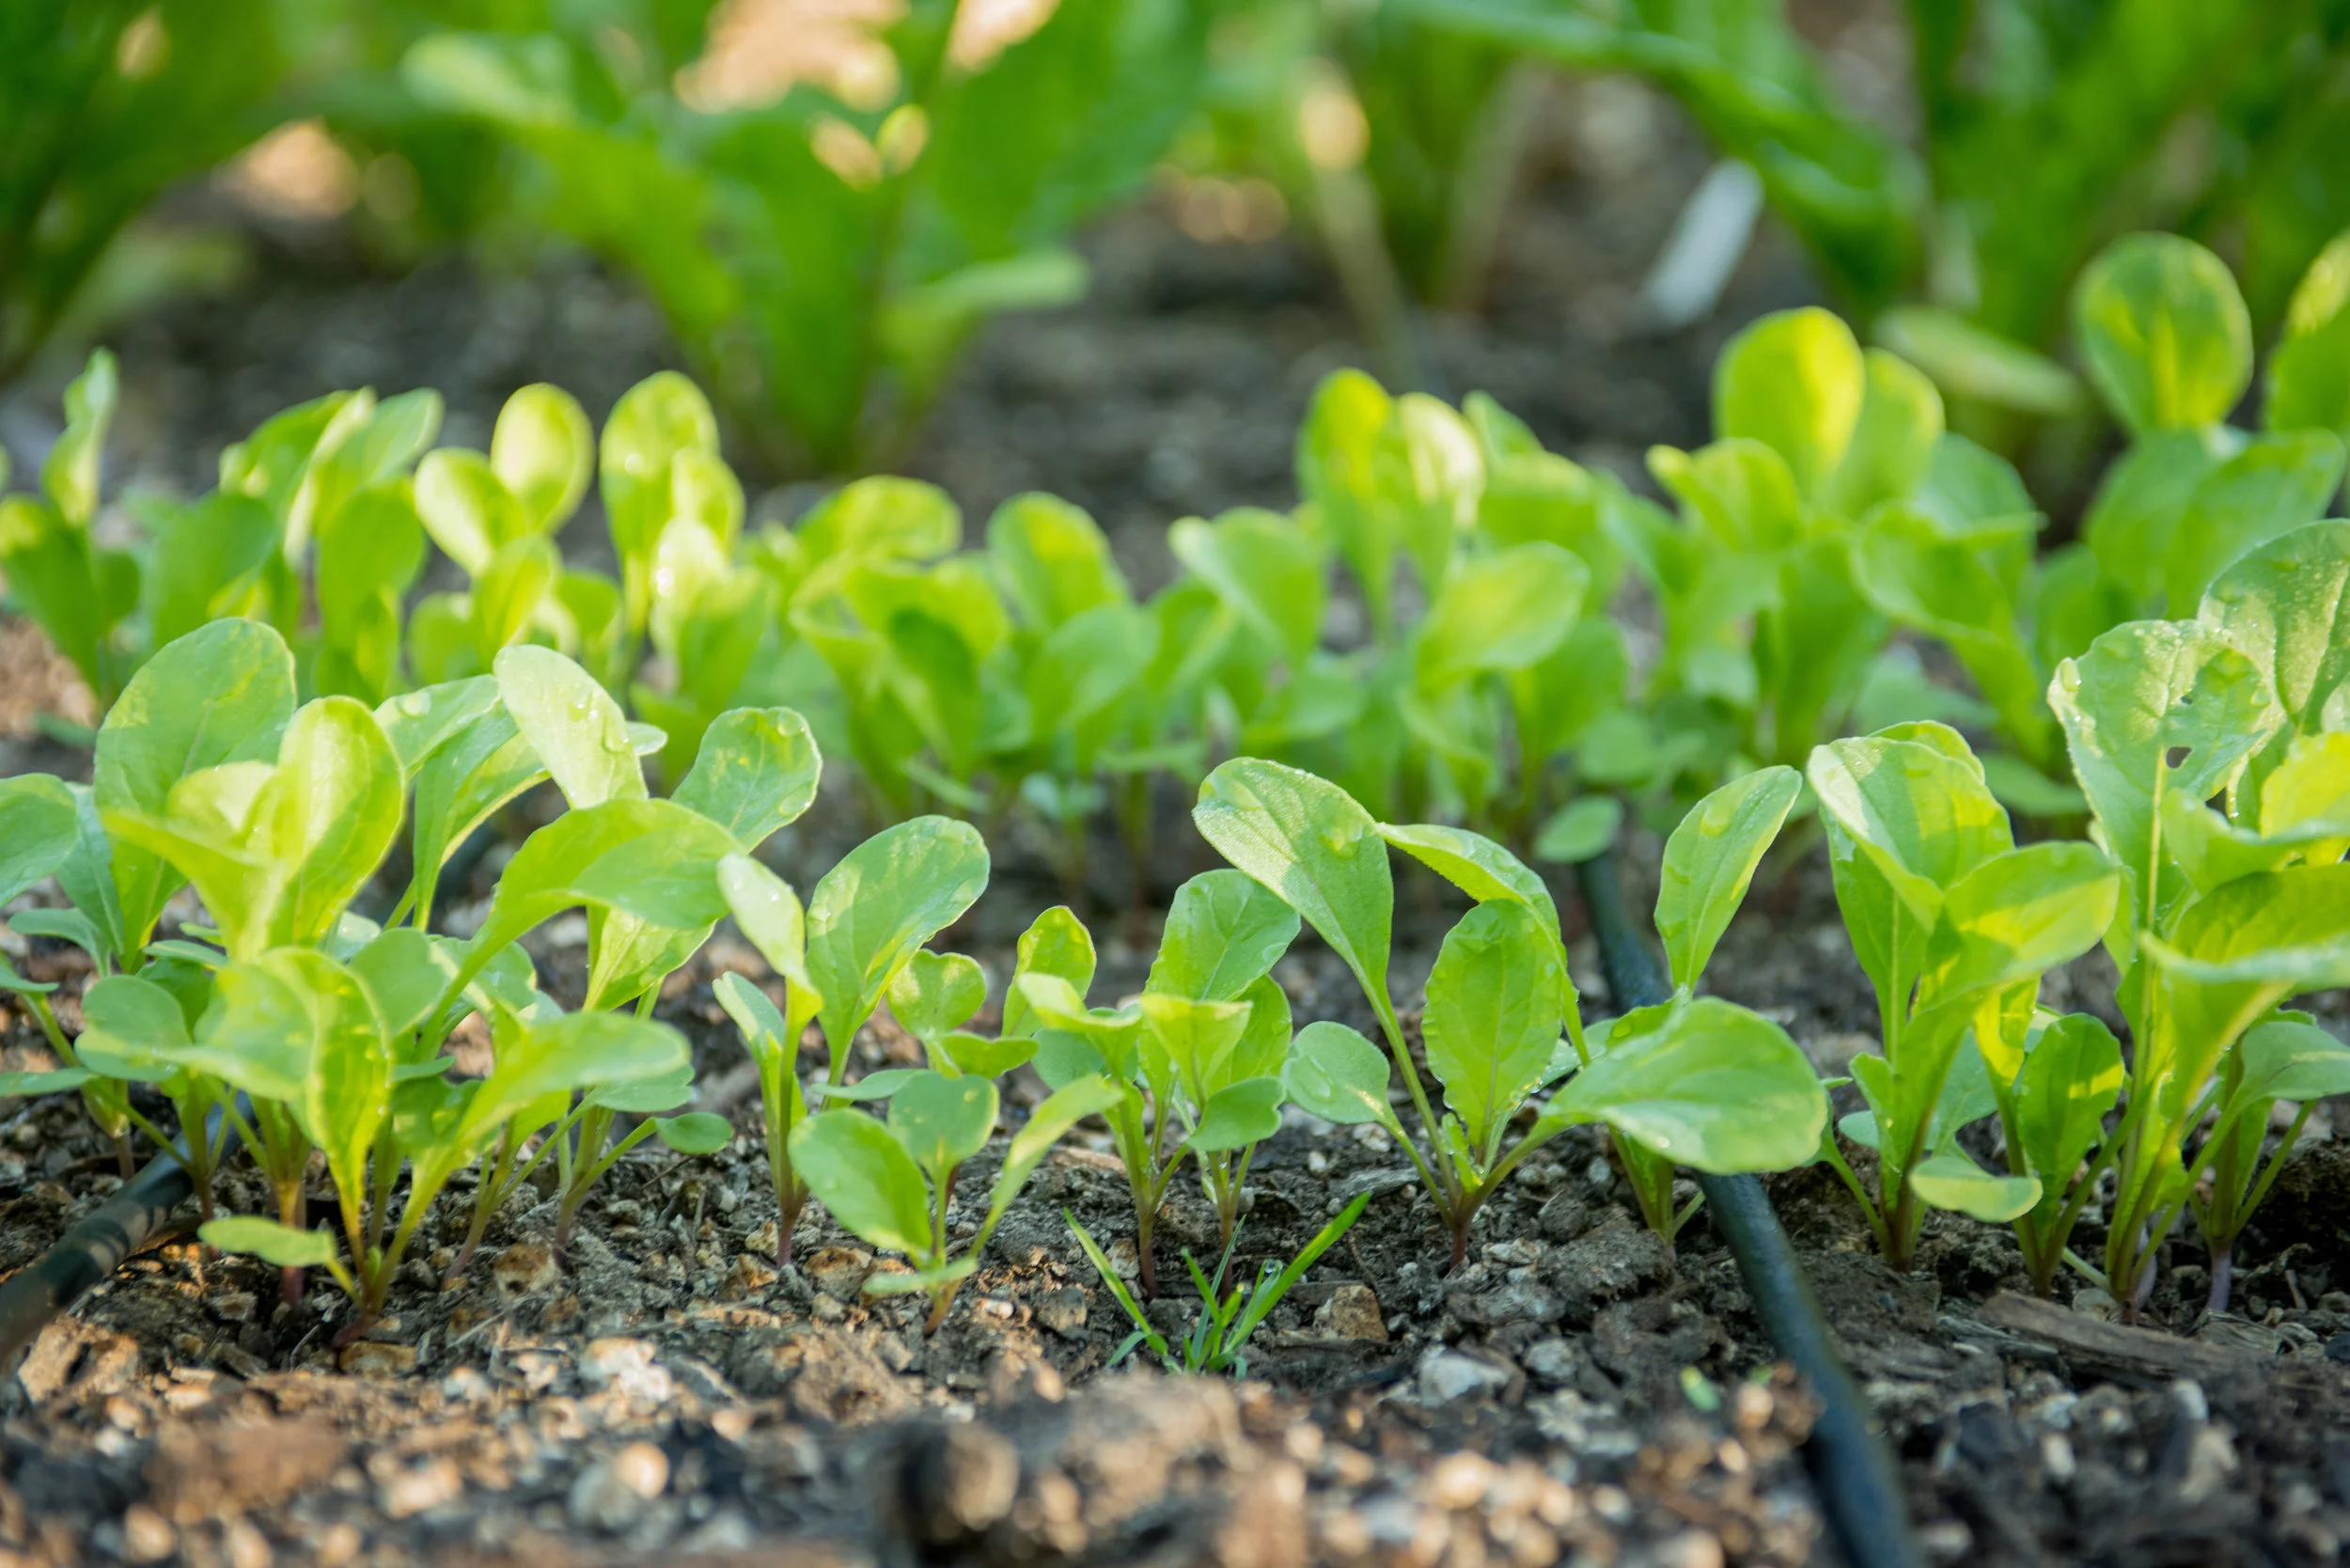
...and 'Astro' Arugula
What Vegetables Grow Best in Spring?
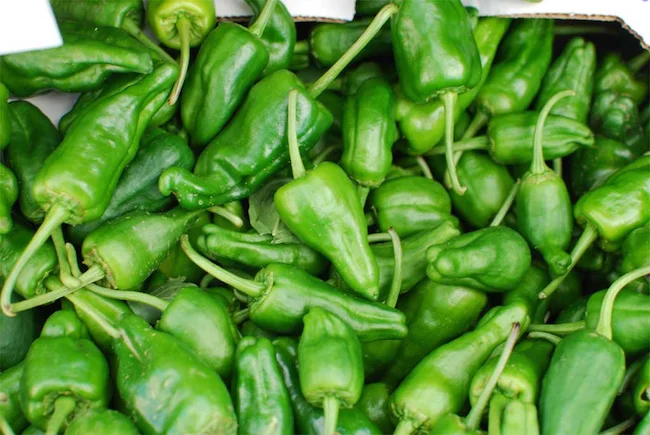
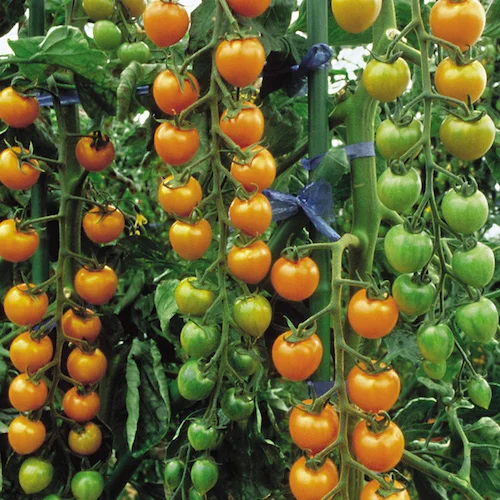
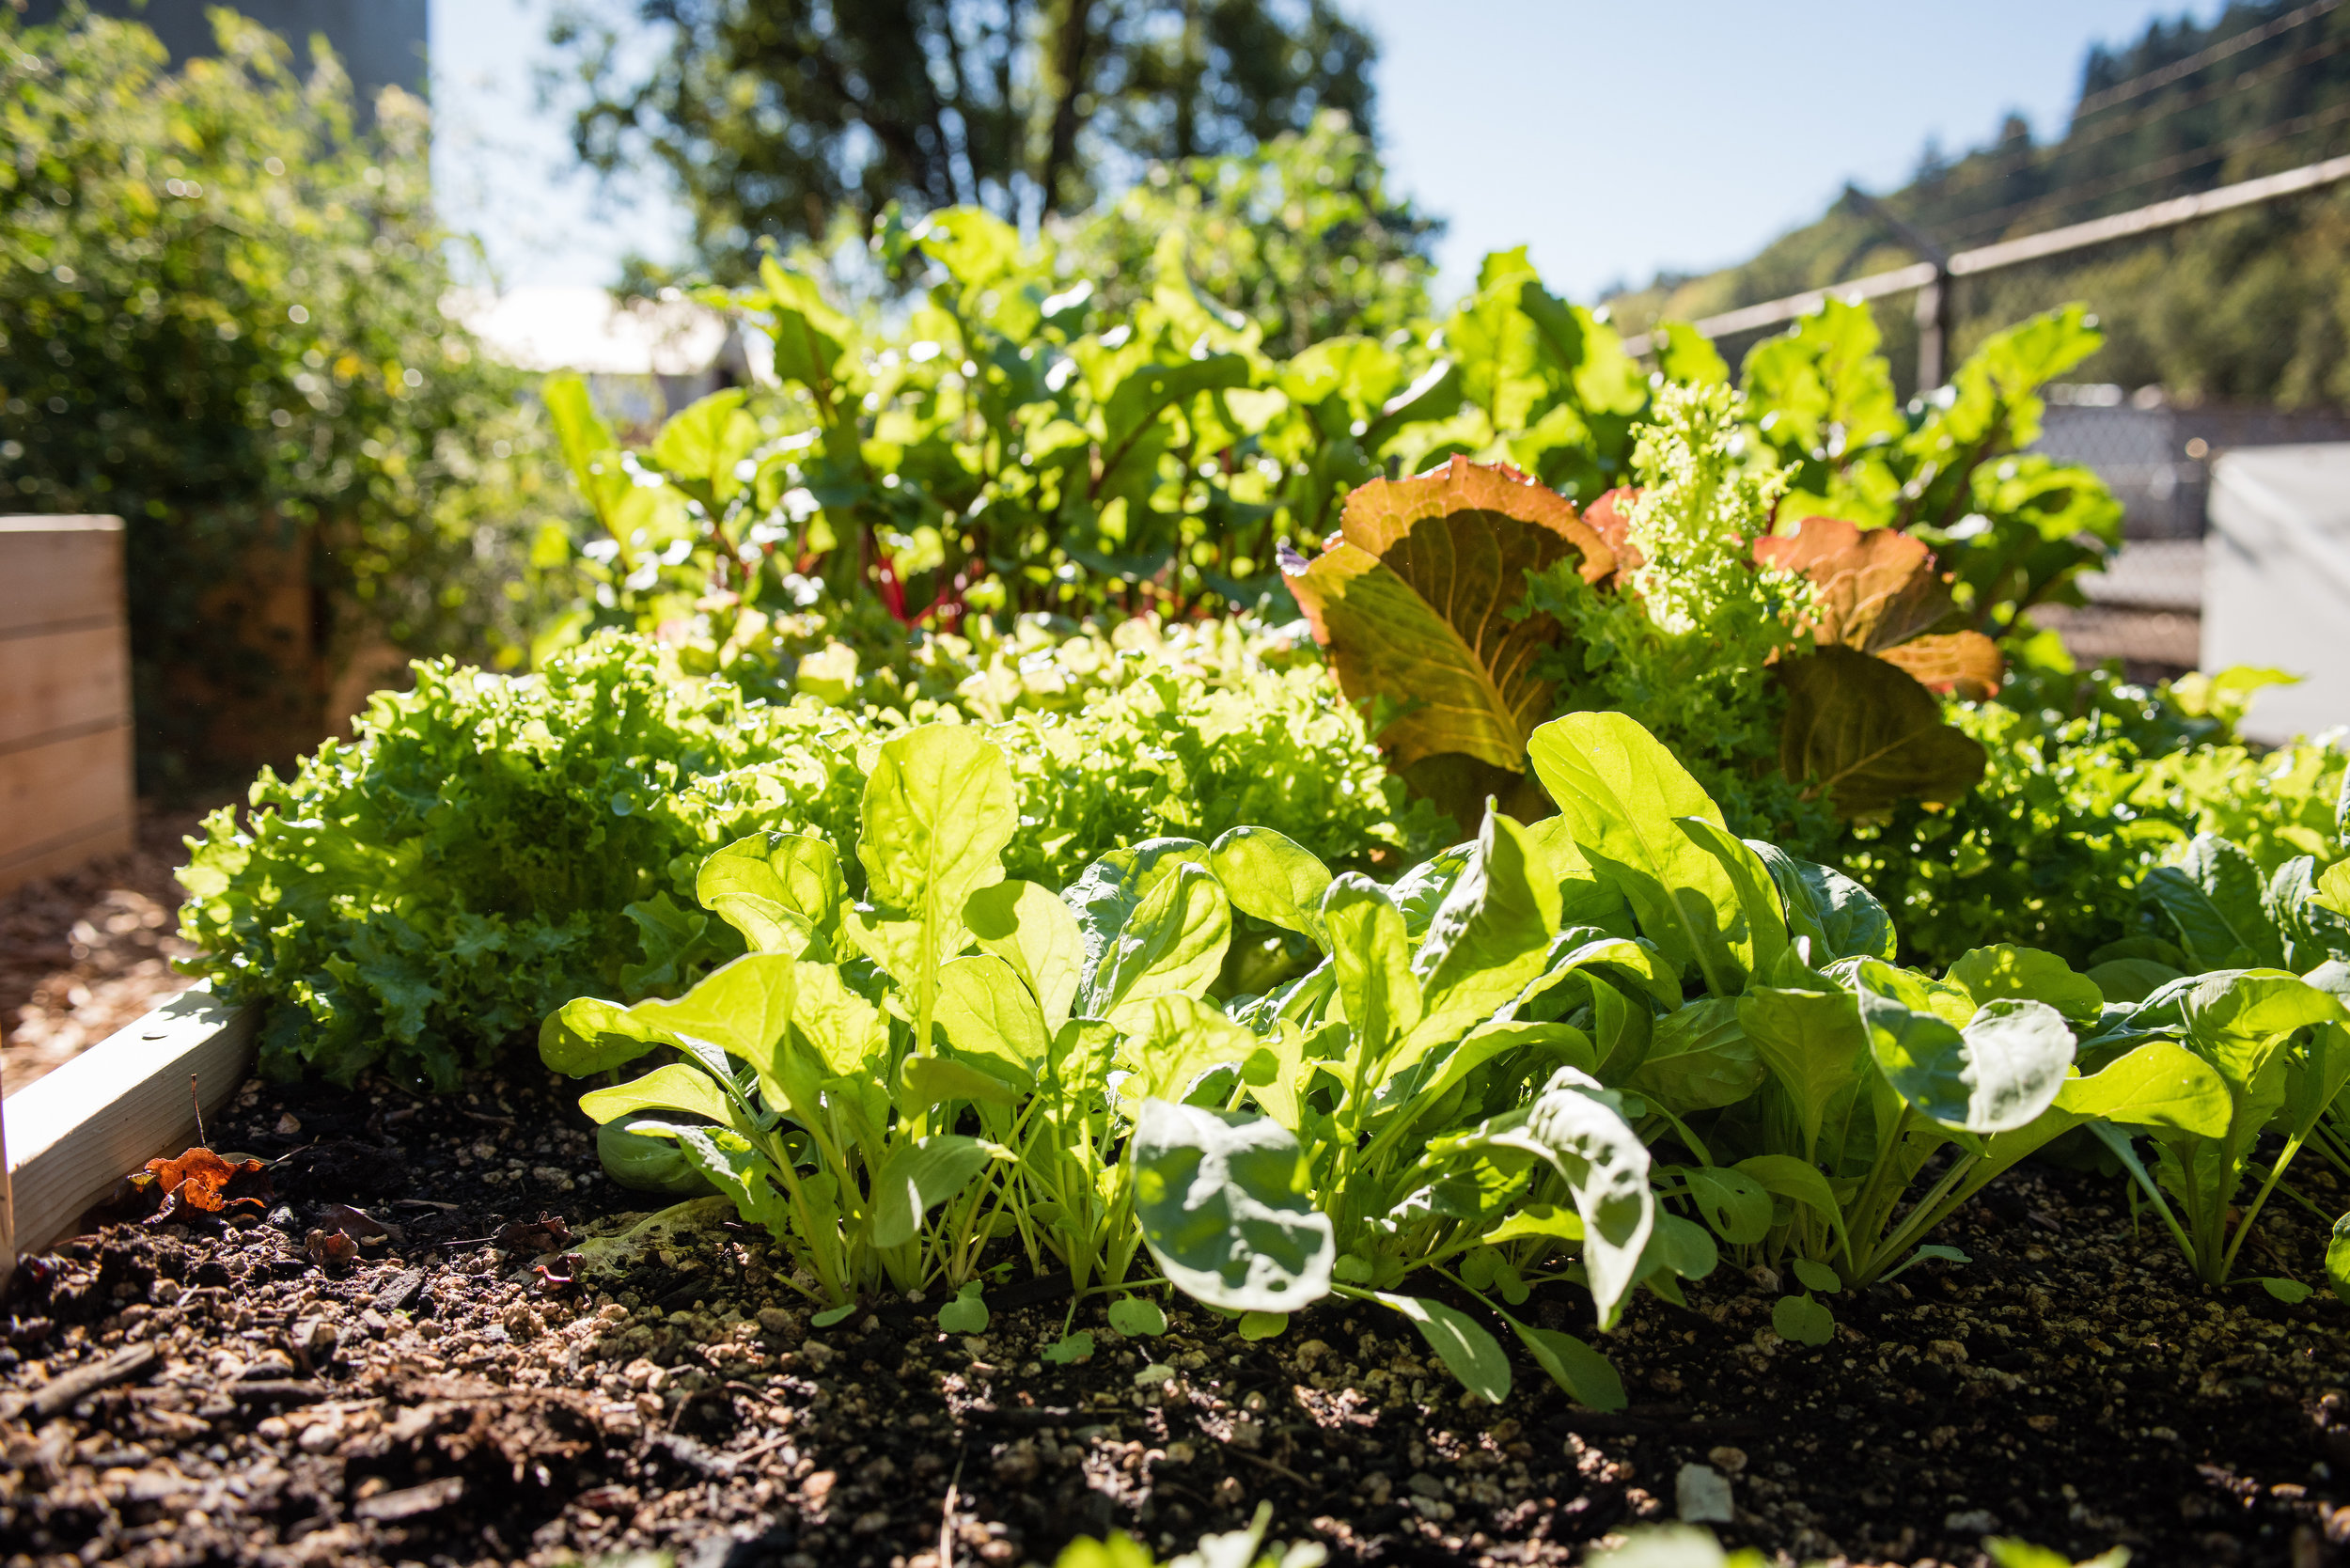
Spring in the Pacific Northwest is reliably cool and wet. It is clearly not the season for tomatoes, peppers, and so many other beloved heat loving vegetables. But the abundance of precipitation and cool temperatures are ideal for other veggies. In general root vegetables and leafy greens are right at home during these Spring months. So if you are a salad lover, Spring is your season!

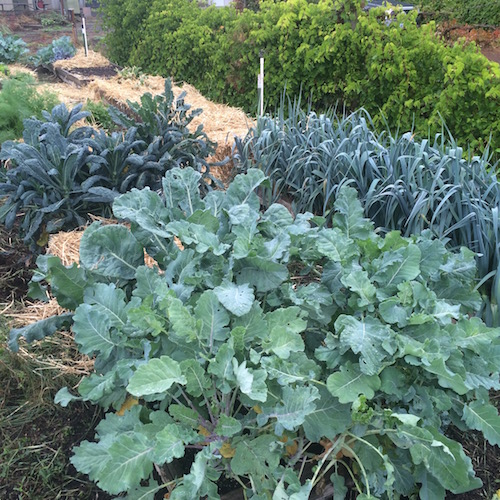
Kale ('Black Tuscan' shown here) grows very well in cool Spring conditions. A single planting can produce Kale for many months!
Some favorite Leafy Greens for planting are Arugula, Spinach, Lettuce, Kale, Chard, and Collard Greens. Asian greens like Bok Choi, Mustard, and Mizuna are also great choices.
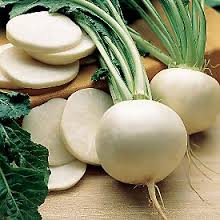
For Root Vegetables, Radishes and Turnips are quick growing Spring favorites. Some radishes can be harvested within a month of planting from seed! Carrots and Beets take longer to grow, but also thrive in the cool Spring months.
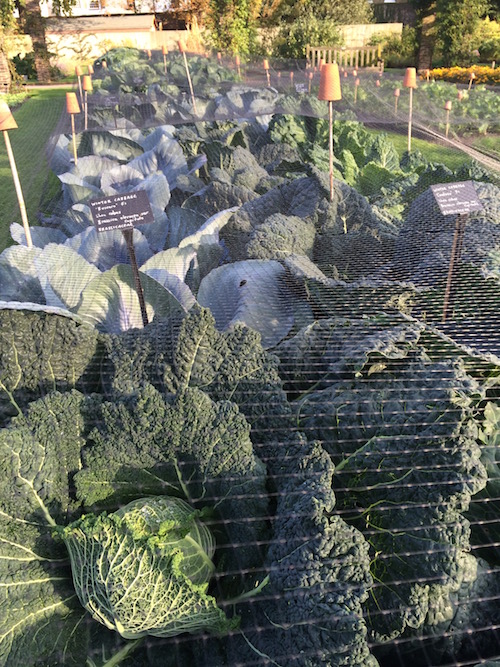
Some other vegetables that thrive in Spring include Peas ('Sugar Snap', 'Snow', and 'Shelling'), Fava Beans, Broccoli, Cabbage, Cilantro, and Parsley.
Should I grow from seeds or from starts?
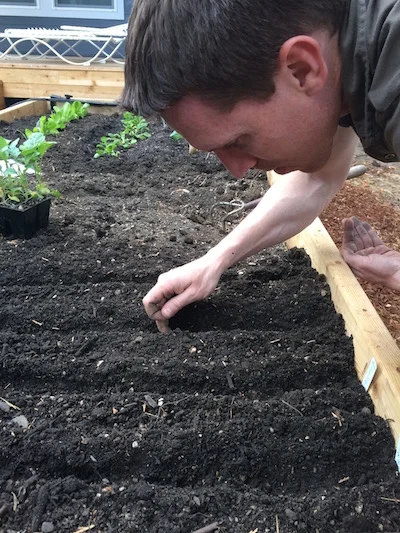
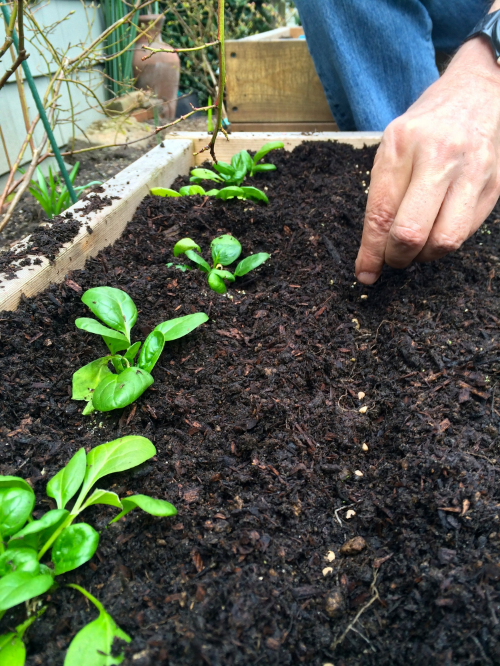
Root vegetables always do best when grown from seeds directly planted into the ground and will struggle if transplanted from nursery starts. For leafy greens that are generally eaten raw in salads, they grow well from both seeds and from nursery starts. Many seeds have a hard time germinating in cold temperatures so I often plant the first succession of leafy greens from starts and begin planting these vegetables from seeds again in April.

Root vegetables like Radishes grow best when planted from seeds sown directly into your garden
When Can I Start Planting???
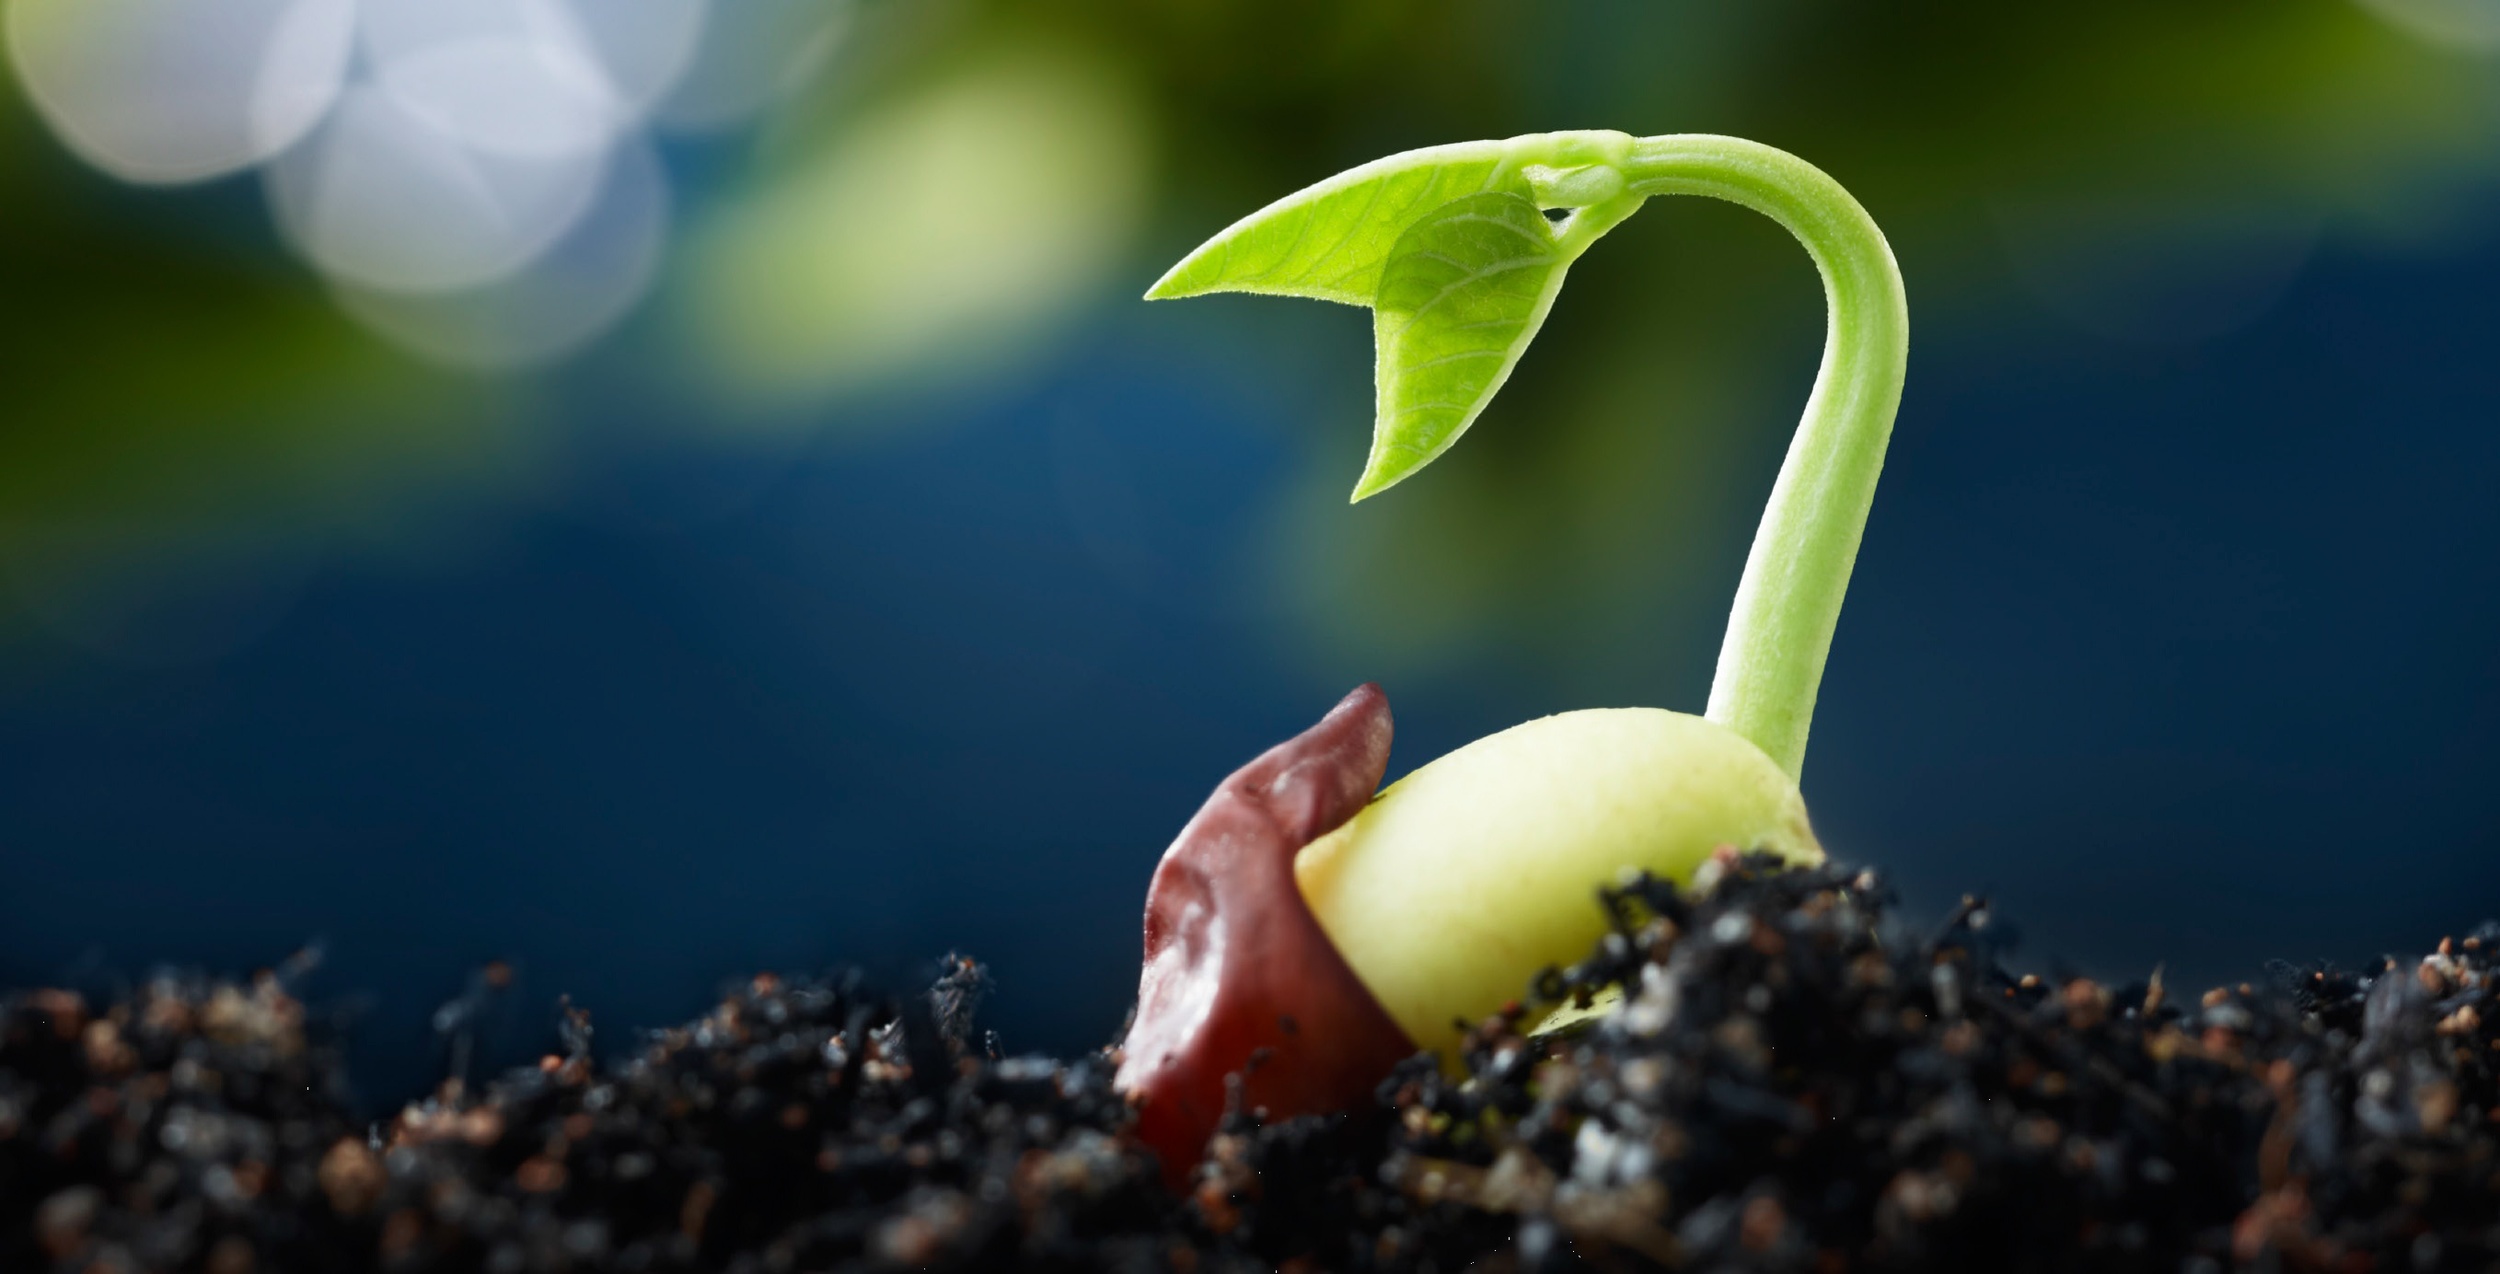
I begin planting most of these vegetables around March 15th. Peas and Fava Beans can germinate in cold soils and can be planted a little earlier in February. If the weather in early March proves to be unseasonably warm and sunny, by all means plant early! Alternatively, if temperatures remain very cold through much of March, consider planting a week or two later.
Because so many Spring vegetables are quick growing, another benefit of planting early is that they can be harvested in time to plant a second crop in the same space. This is especially valuable if you have limited garden space at your home.

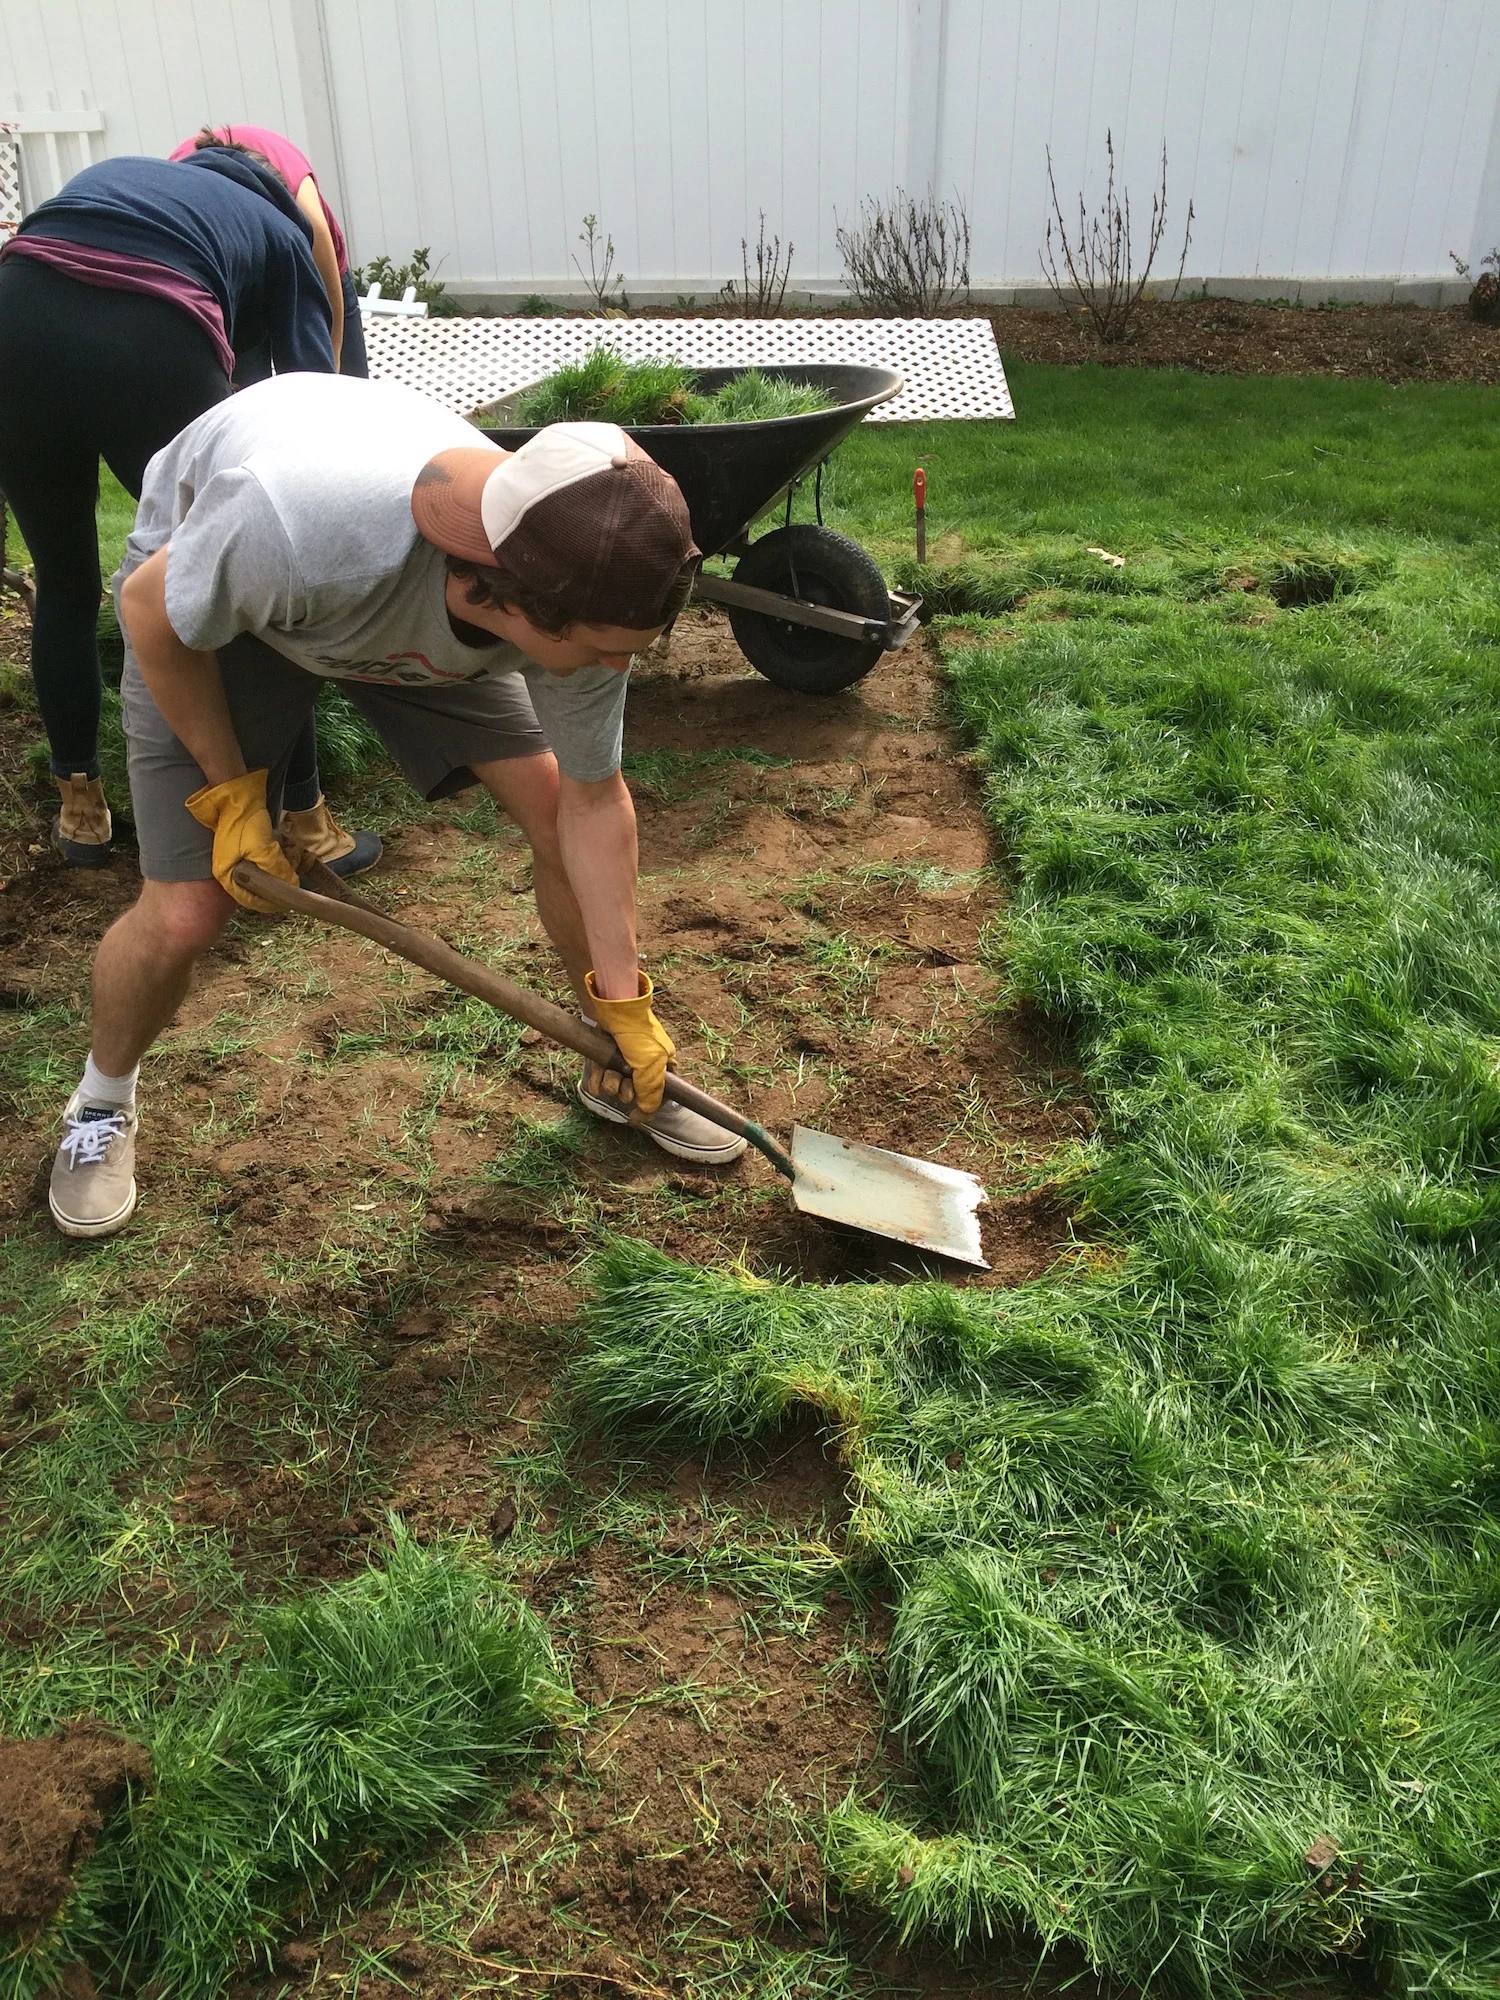
Plant Spring vegetables in March and you can have a bountiful harvest in as few as 30 days!
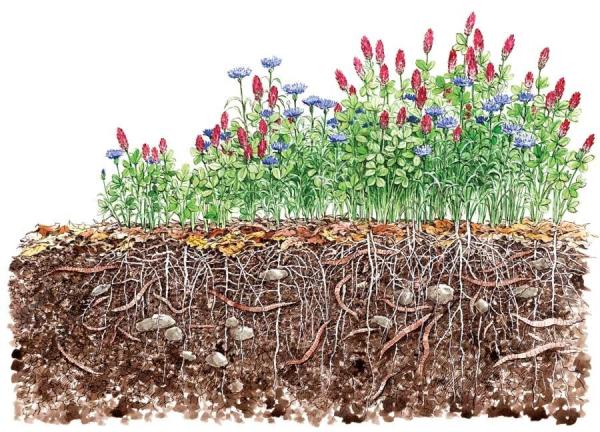
Feeling inspired? Don't let your Spring vegetable garden pass you by! Gather those seeds, prepare your soil, and plant that Spring vegetable garden! You will be rewarded with an abundance of leafy greens and succulent roots in no time.
Happy Growing!,
Ian Wilson